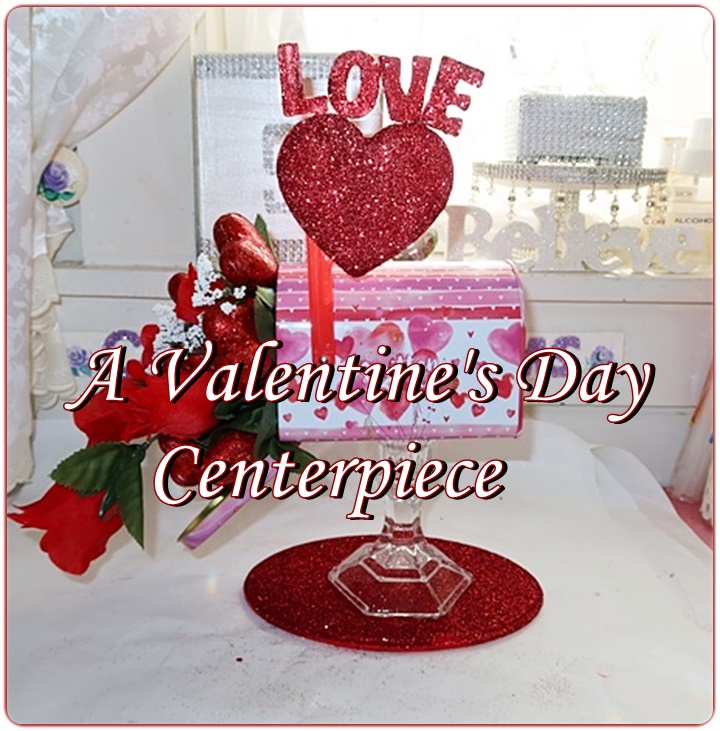
This centerpiece was made mostly from Dollar Tree items & took almost no time to put together.

This centerpiece was made mostly from Dollar Tree items & took almost no time to put together.

I needed a new centerpiece for an upcoming tablescape, but couldn’t find anything that I really liked. As a crafter, the solution was very easy… make it myself.

Some of my favorite centerpieces have been made using Water Jewels, sometimes called Water Gems. They are tiny dehydrated pellets that when soaked in water, they swell up into what looks like clear marbles. They’re squishy & bouncy and when water is poured over them, they become invisible, which makes easy designs using flowers.
The supplies for this centerpiece are, Water Jewels (got them at Michael’s), a clear container that will hold water, flower heads, water, measuring spoon, water & some candles.
After they gems have swollen in the water (about 6 to 8 hours) you can tuck flower heads down into the beads. Top with water to watch them ‘float’ in the water, because the gems become clear.
Add candles to the top of the beads. They keep the candles in place. Light the candles & your centerpiece is complete!
This centerpiece can be customized for any tablescape, simply by changing the colors of the flowers used.
It would make lovely centerpieces for weddings, baby showers or any ‘special’ dinner party.
(Water Jewels will dehydrate if you don’t add more water to them. You can add a few drops of Essential Oils to the water to make them into a room freshener. When they are no longer being used, store them in a gallon sized Ziploc bag. If you don’t want to store them, mix them into your garden soil to help keep the ground moist when the rain is scarce, DO NOT let them go down your drain!).
To see how I made this, watch the video! If you like the video, please subscribe to my new channel.
I hope you enjoyed this.
Happy Creating everyone!
The temperature today is only 15 degrees & everything is frosty outside. This centerpiece was inspired by all of the frosty days in the Winter. It’s easy to make & only uses 5 items. The hardest thing about this centerpiece is waiting for the paint to dry.
I hope you’ll give this one a try.
In my New Year Tablescape, I used this Diamond Candle Ring as the centerpiece. It was very easy to make and can be used any time of the year. I love the way it sparkles whether it’s from sunlight or candle light.
Here’s how I made it.
This is the 4th and final tutorial for making the Halloween Candle Holder Centerpiece.
Today’s tutorial is the Ghost Candle Holders and I think the easiest one.
I’ve been working on a new centerpiece for Halloween that I thought was fun.
I’ll be showing you how to make the entire centerpiece over the next few days. The first tutorial is how to tint & make Mod Podge candle holders. I hope you enjoy the tutorials.
With so many birthdays coming up in our family, I wanted to make a special gift box for the occasion that could also be used as a centerpiece.
This is what I came up with.
Happy Birthday, America!
If you saw my 4th of July Tablescape, you might have noticed the Scatter Candle Centerpiece. I’ve been making these for over 20 years for several reasons. They are easy to put together, very inexpensive, can be customized to go with any color scheme and always bring a little sparkle to any place you put them. And the best part is that it only takes a few minutes do.
Here’s how I make them:
If you’re looking for a last minute, easy to make Deviled egg holder that costs $3.00 to make, you’ve come to the right place. This can be used as a centerpiece or used as a serving dish for any holiday when you’re serving Deviled eggs. And all items can be purchased at the Dollar Tree!